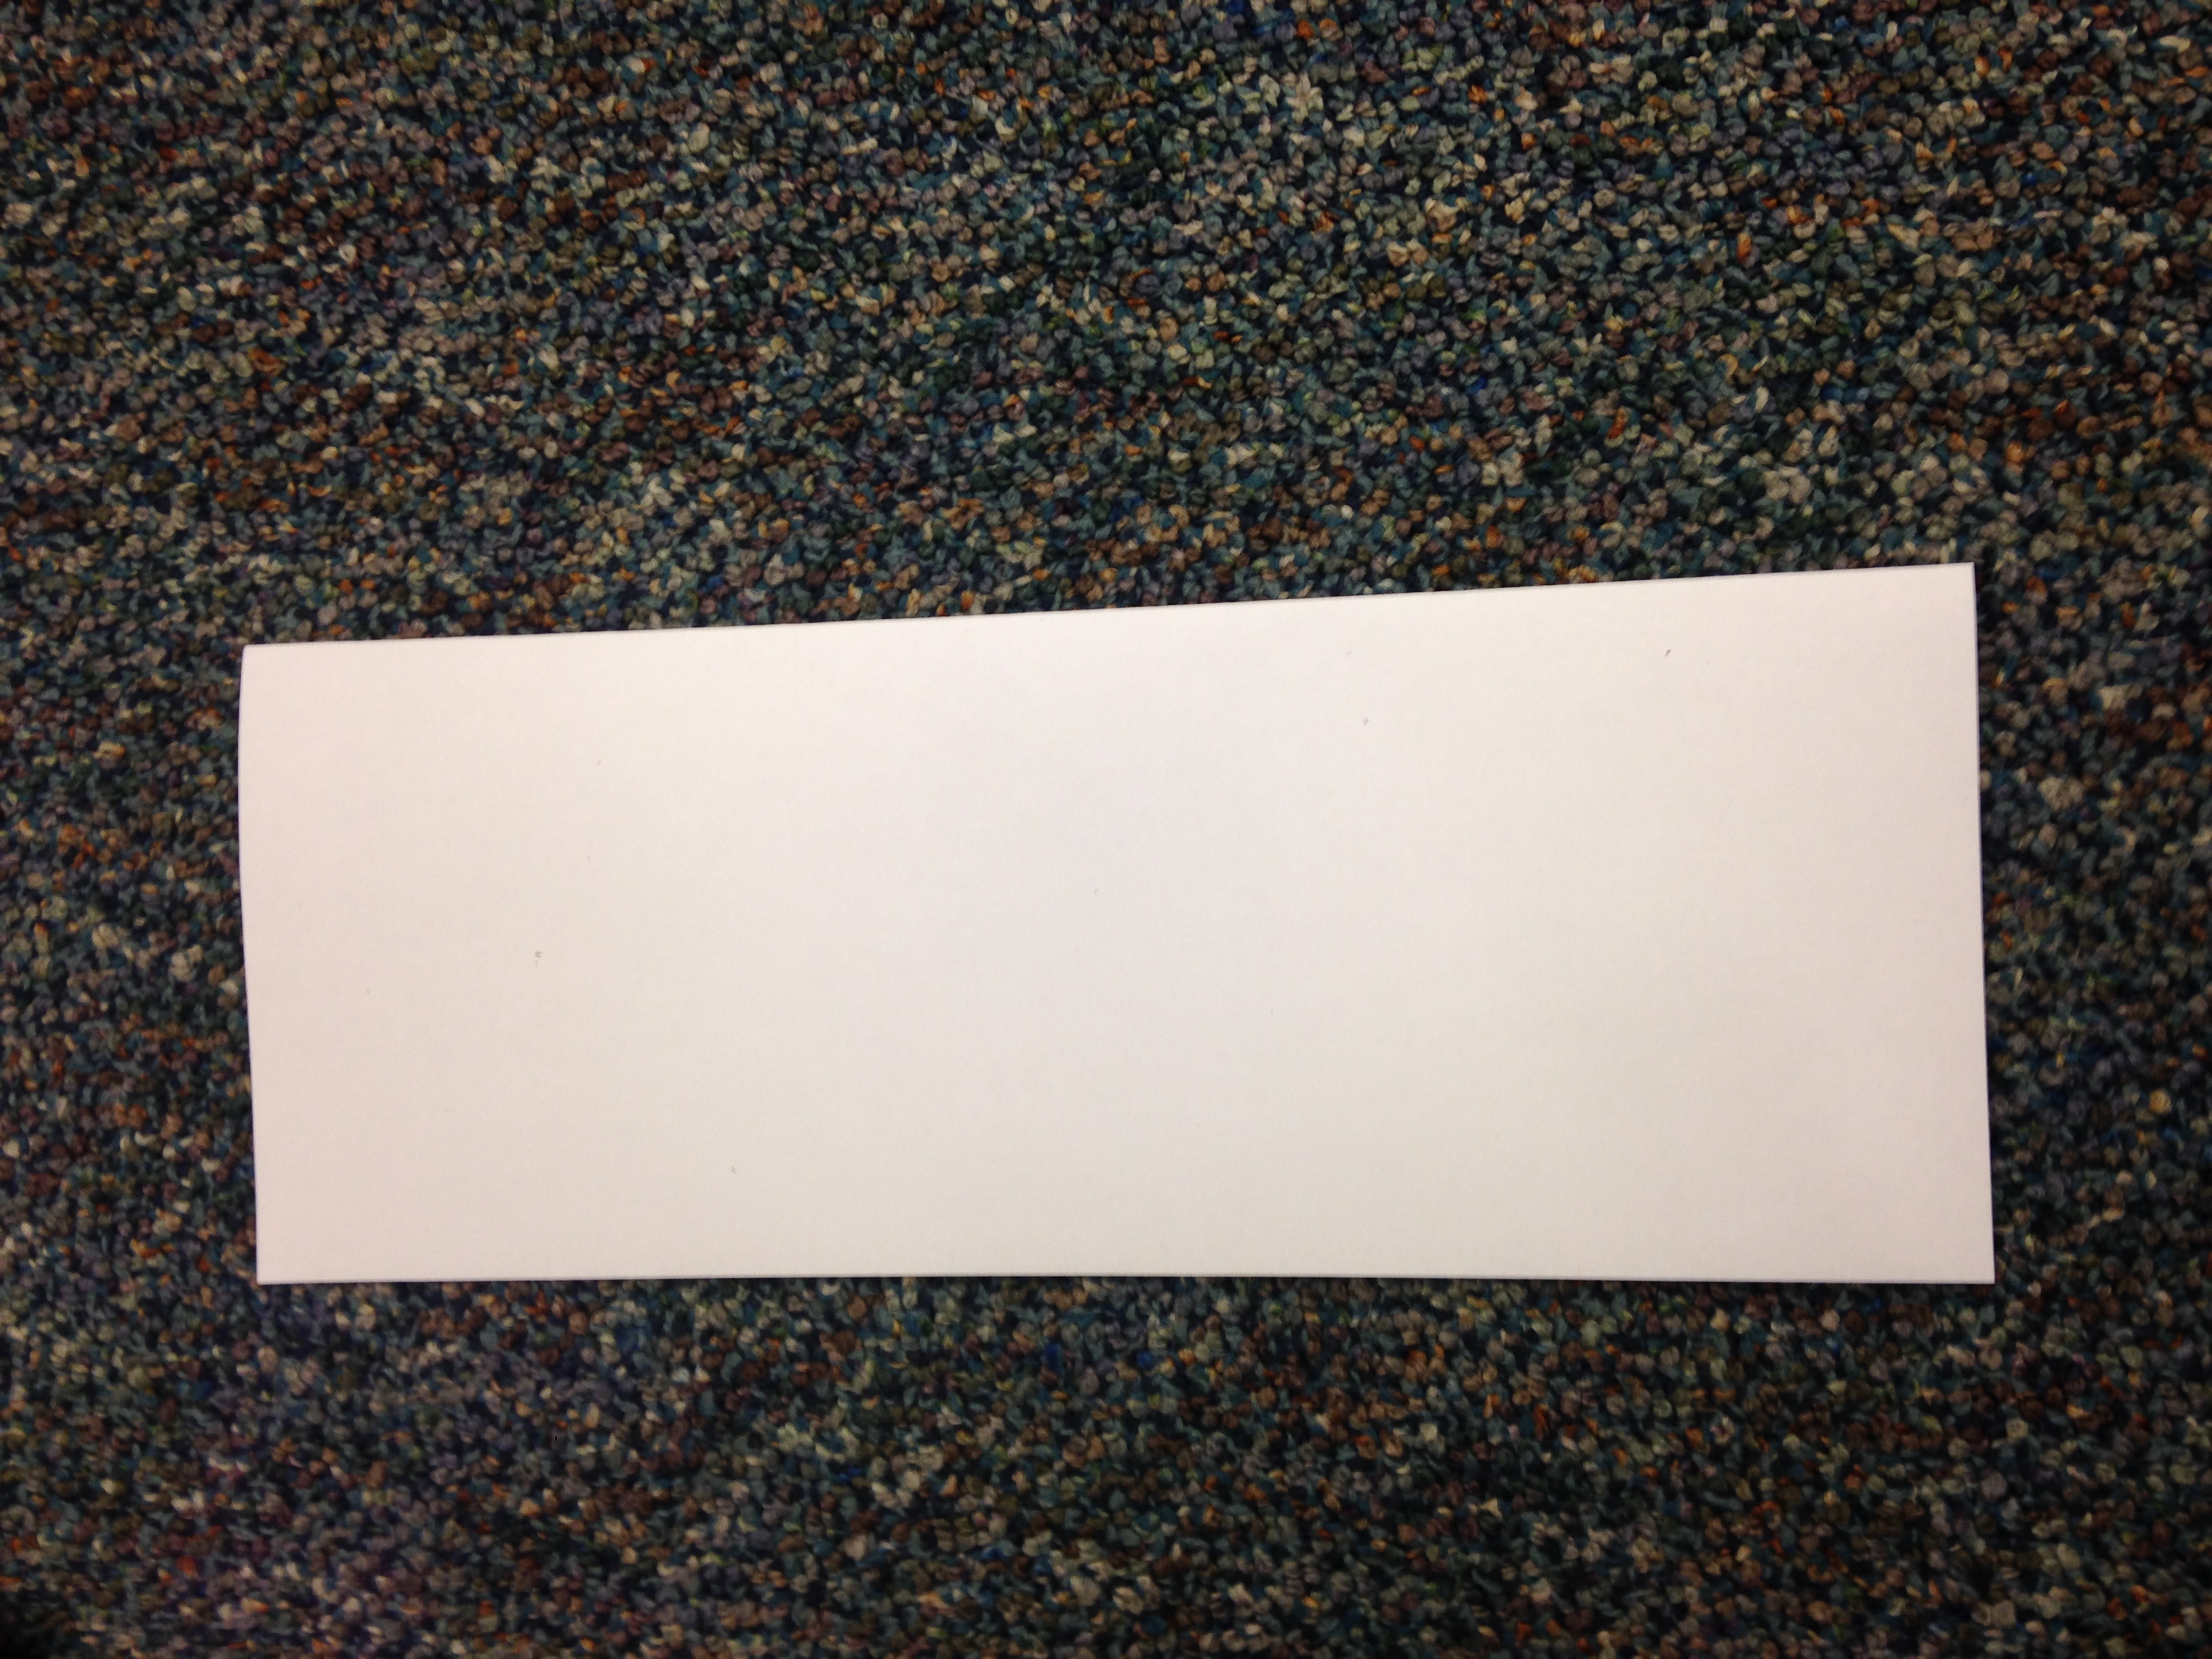
 Have you ever made a paper airplane? Then believe it or not, you’ve done some engineering! Paper airplanes may be simple, but they’re also a great way to learn some basic engineering techniques. If you’ve tried to fly one, you know they don’t always fly straight. Sometimes, they don’t fly at all. But through engineering, we can improve our designs and make airplanes that soar. Here is a simple airplane you can build at home with your child. All you’ll need is one 8.5 x 11” piece of paper.
THE SIMPLE DART
Start with your piece of paper (Figure 1, below). Fold the paper in half (Figure 2). Then unfold it (Figure 3). This fold creates a crease that acts as a guideline to keep everything symmetrical. Symmetry is very important in airplane engineering: the more even everything is, the better it will fly.


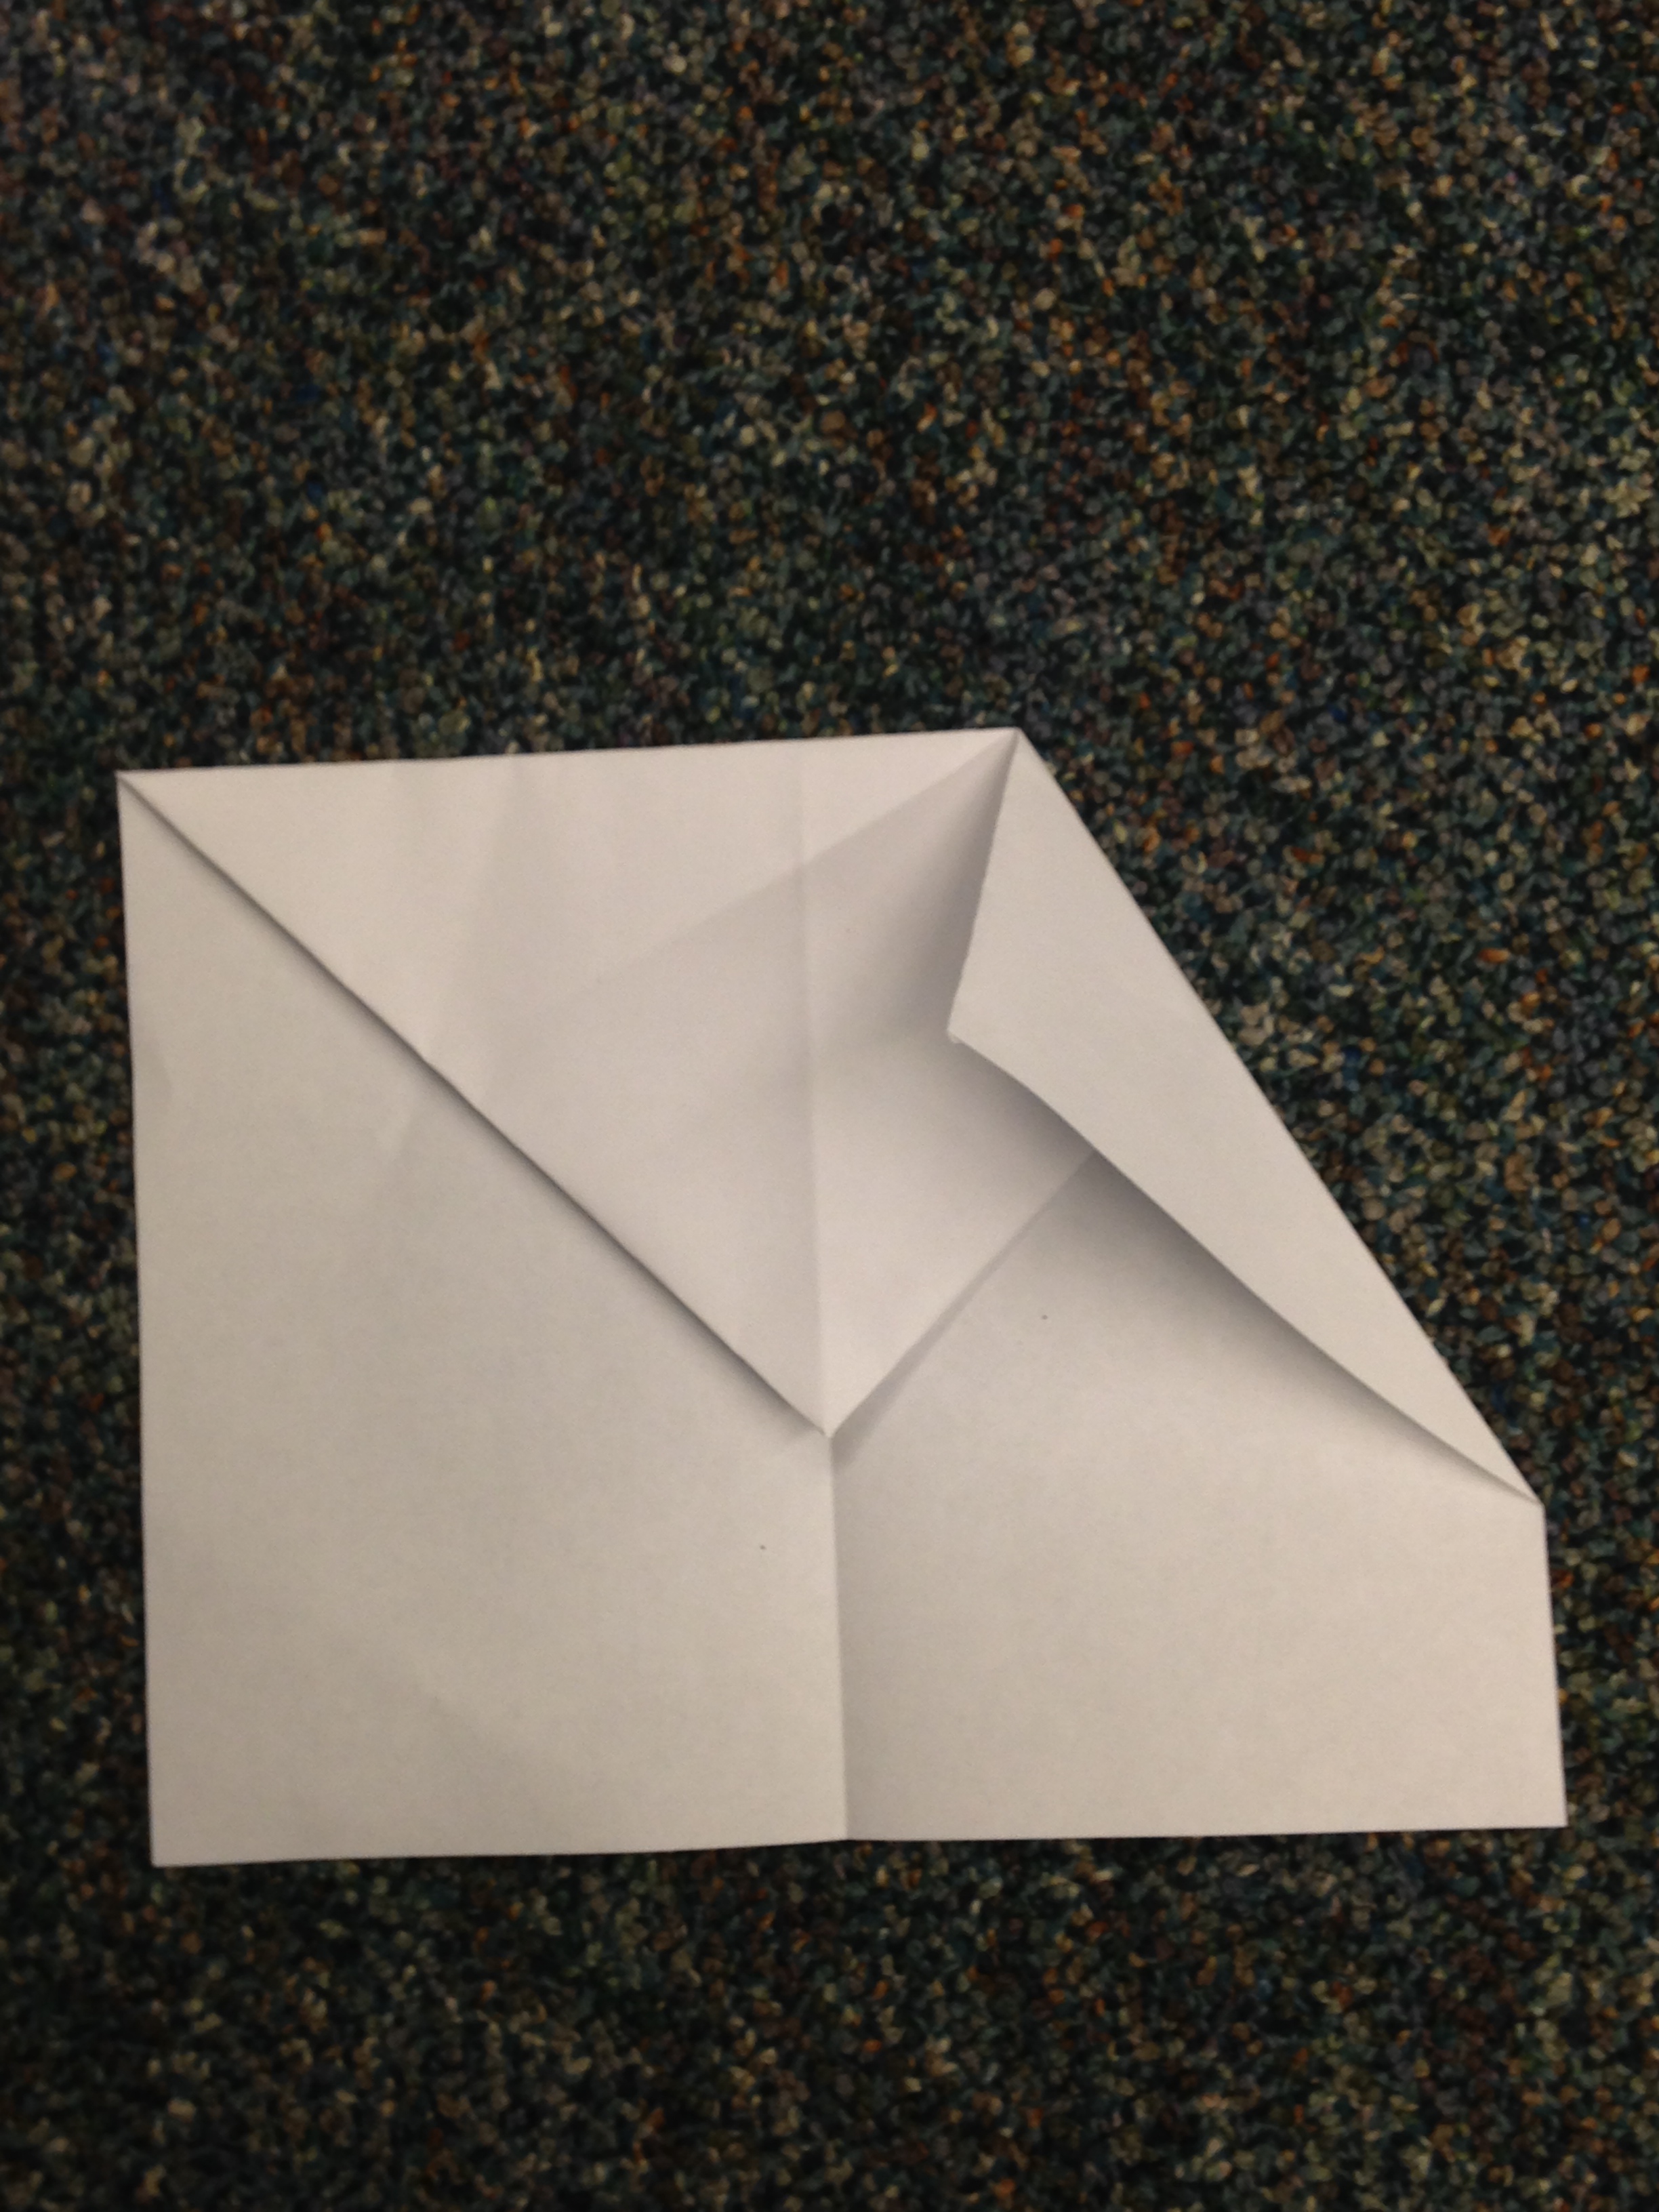
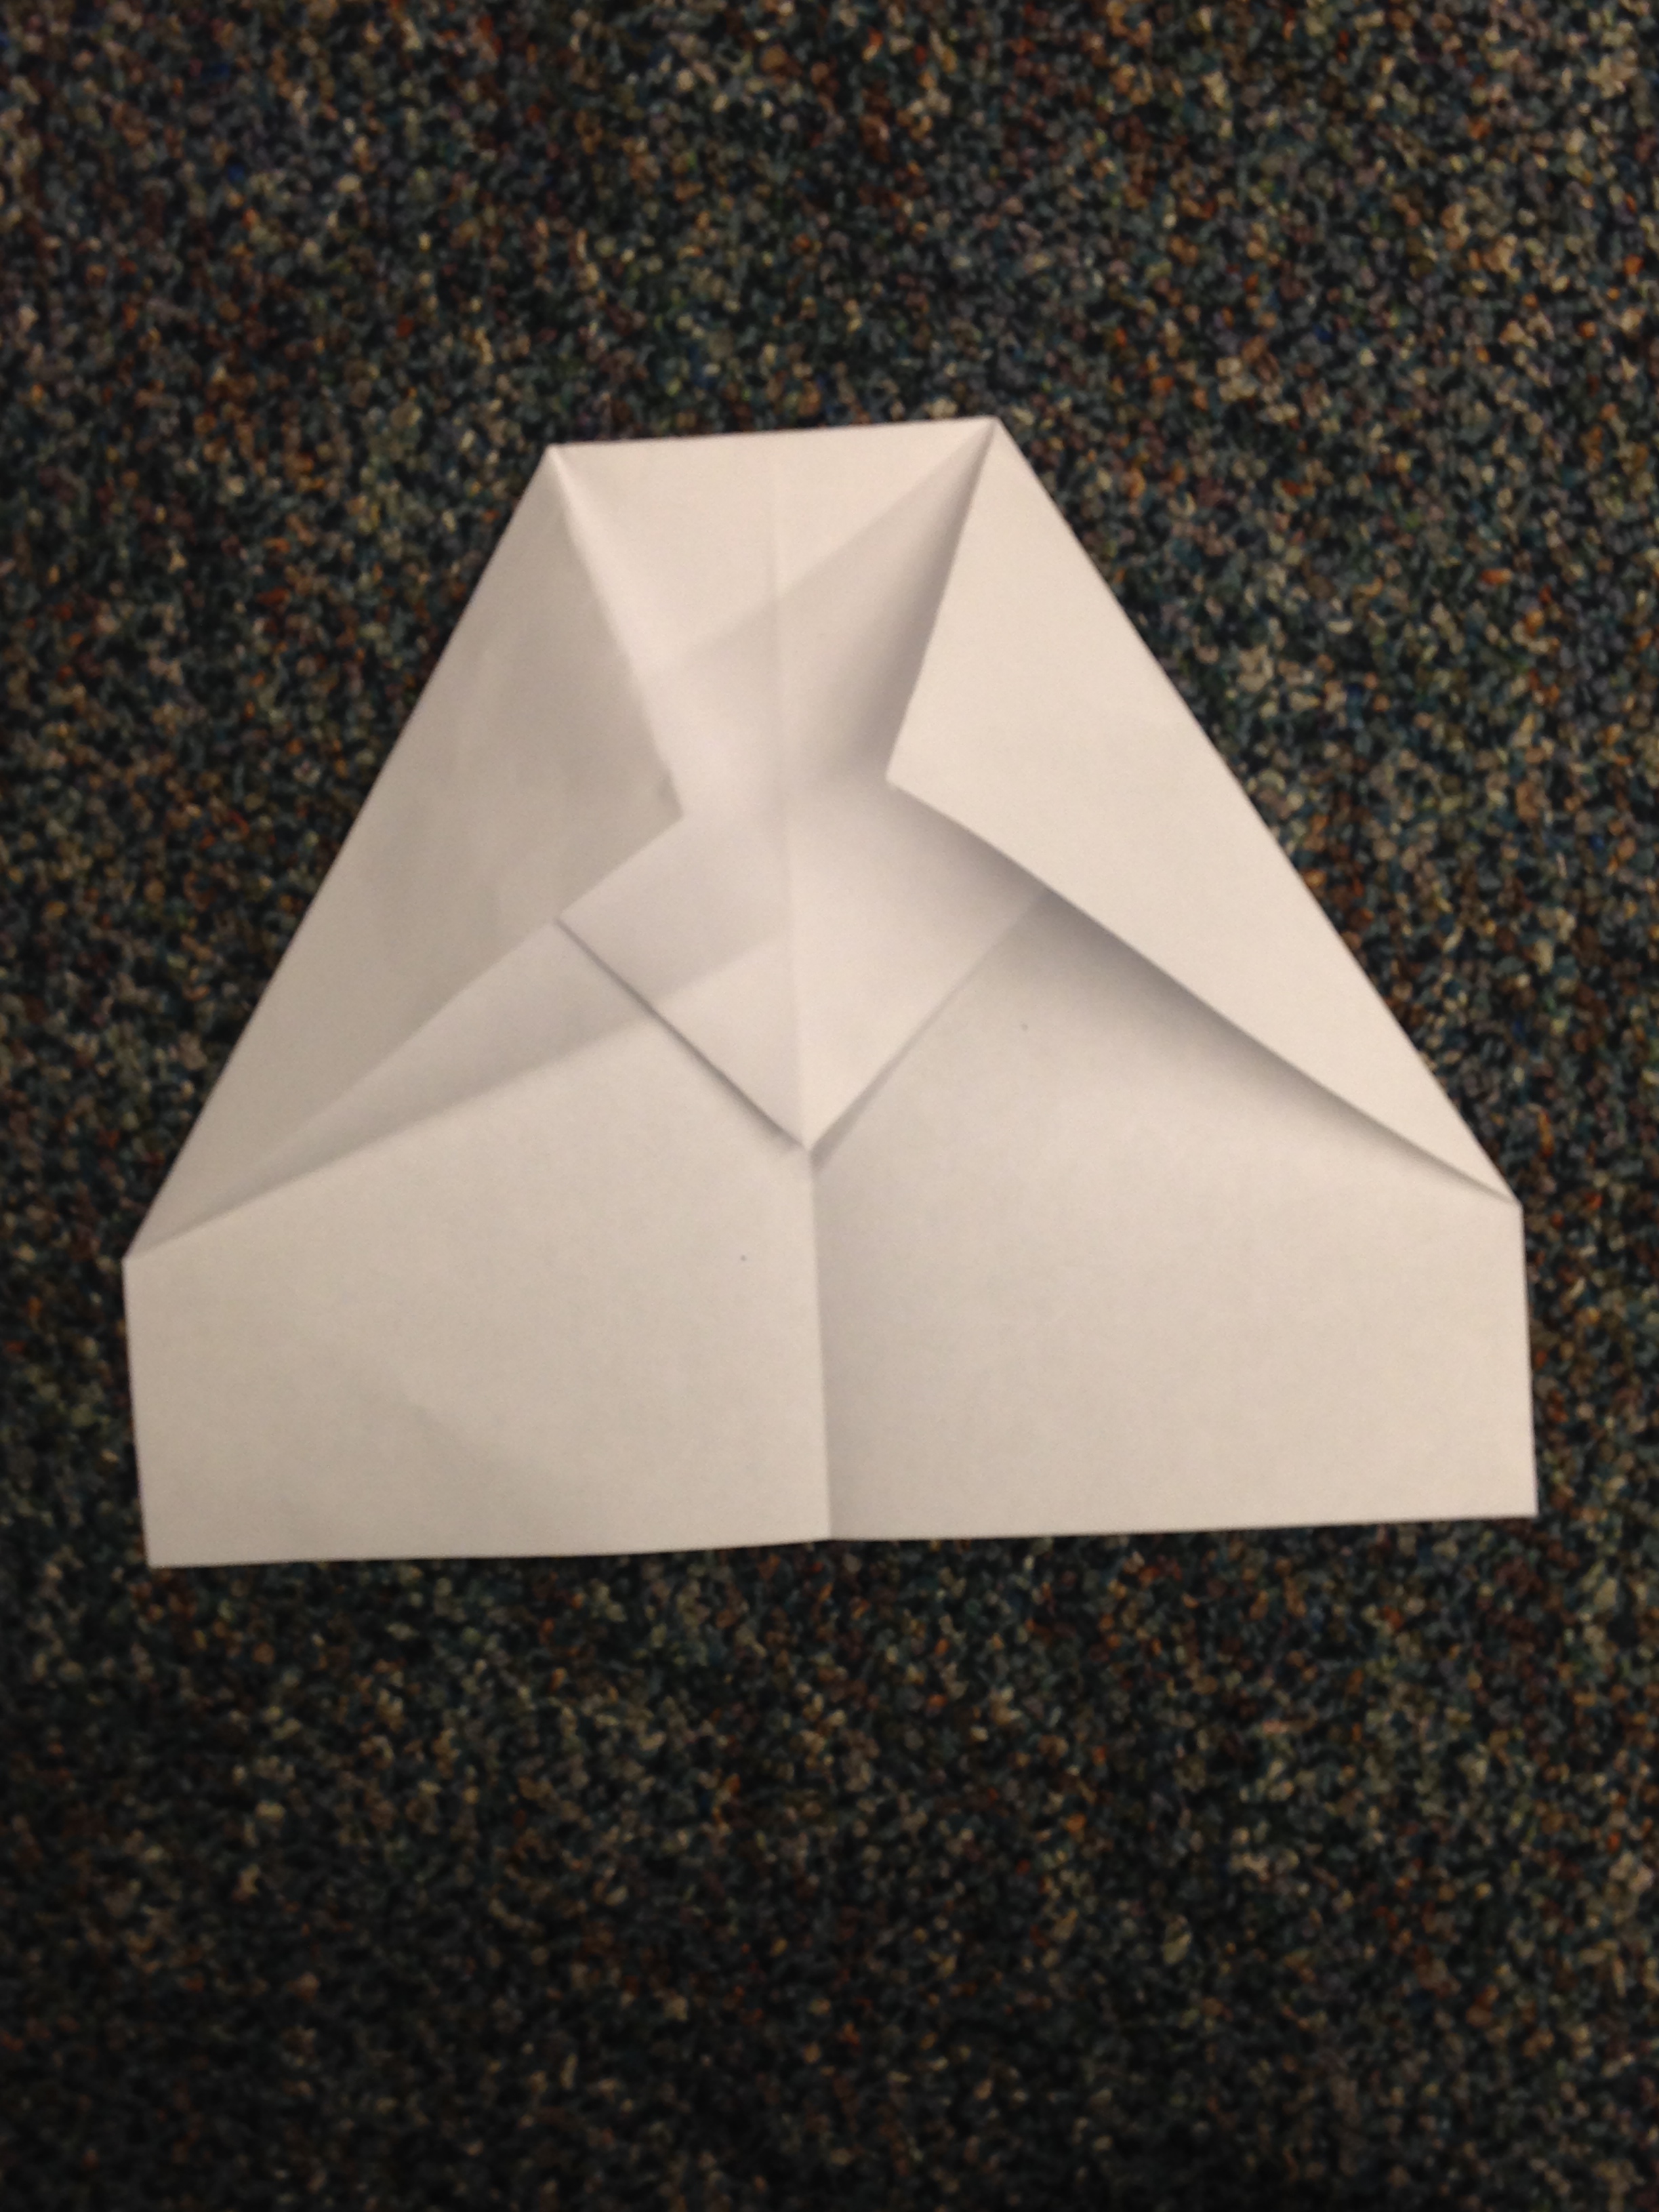
For the next step, fold in each corner so that the top edge touches your center guideline (Figure 4). See? I told you it would come in handy. Fold down the top part so that the paper looks like an envelope (Figure 5). Now, this next part gets a bit tricky, so it’s a good time to work with your child. Fold in each corner so that the point touches the center line (Figure 6).


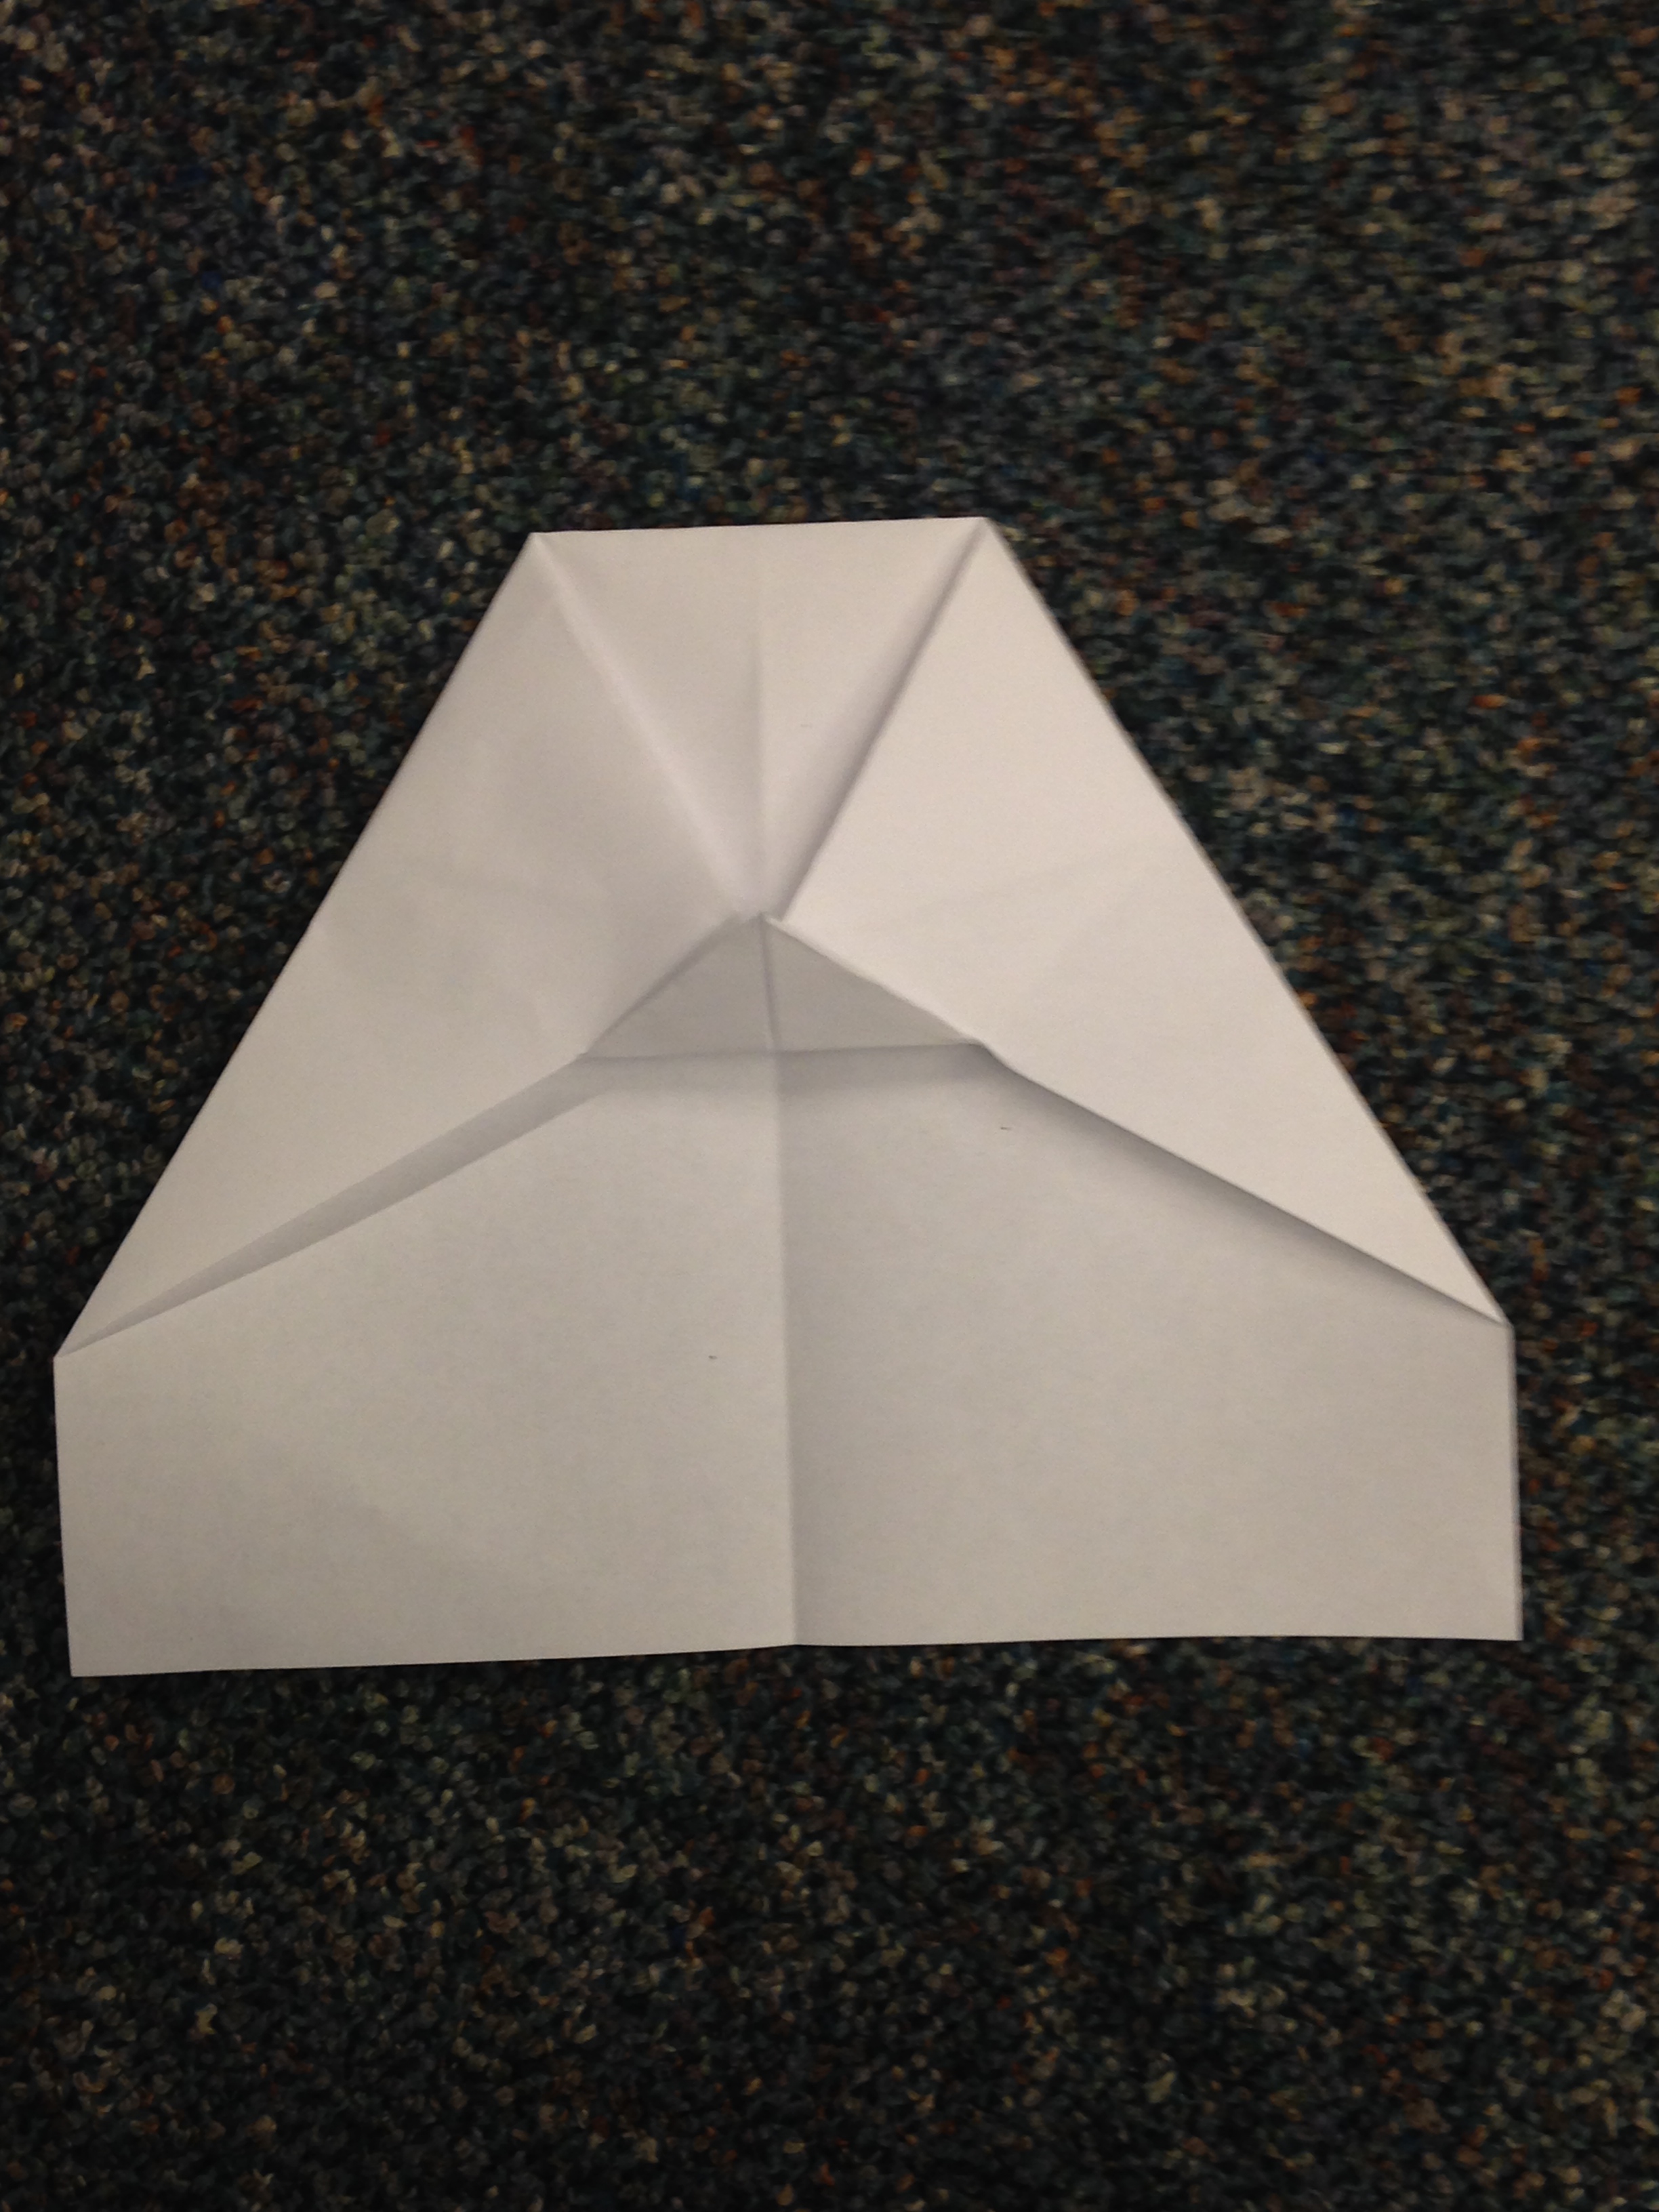
With both down, I find the paper looks a little like a bashful penguin covering its face (Figure 7). Next, take the point in the middle and fold it up over the two corners. This fold will help hold the airplane together so that it doesn’t fall apart as it flies (Figure 8).
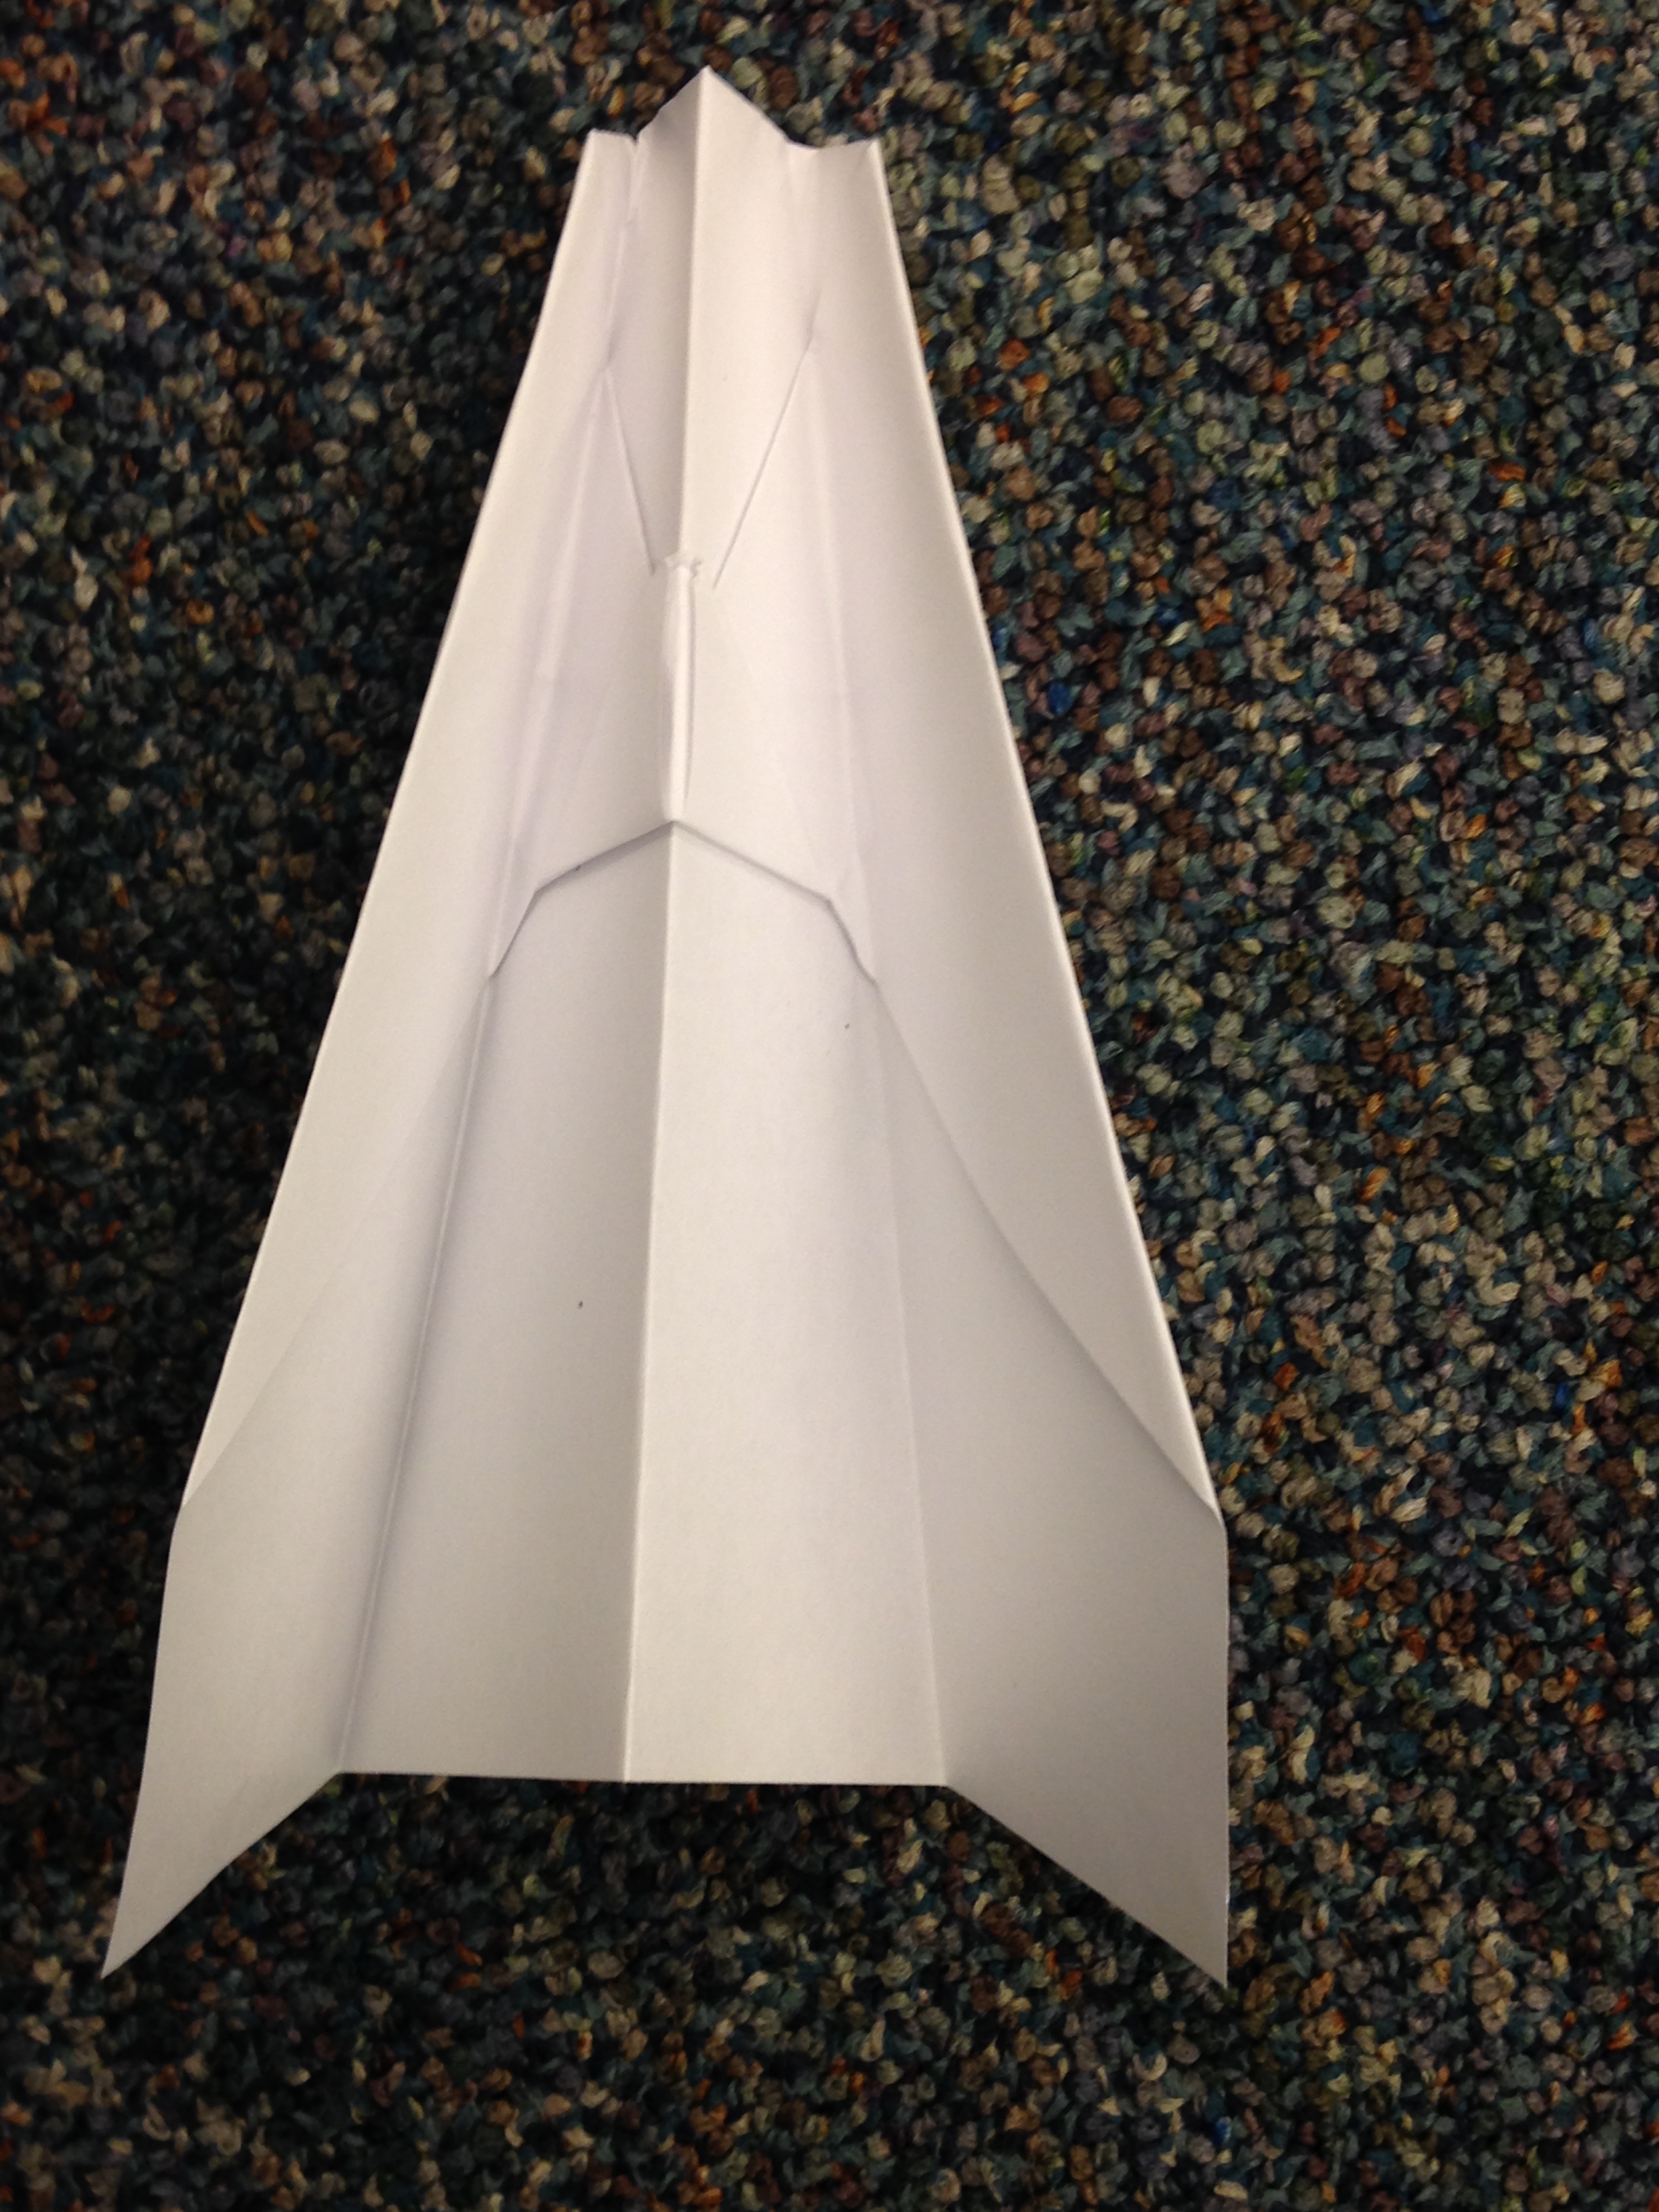
Almost done! Fold your airplane in half so that all the folds are on the outside. Sometimes it’s easiest to flip the paper over before folding (Figure 9). Now, time to fold the wings (Figure 10)!

Here are some experiments you can try once you have created your paper airplane. If you fold two paper airplanes, you can try the experiment on one and use the other as a control. That way, you’ll be able to see very clearly what effect the experiment has, since one of them will show how the plane flies normally! Remember, you should only be testing one variable at a time. Just change one thing in each test, so you can tell exactly what each change does. That’s the scientific process!
WEIGHT DISTRIBUTION
What happens if you use a paper clip to add weight? Try putting the paper clip on the nose, the tail, and one or both wings. Does it change the flight path? What if you use two paper clips?
WING SIZE
What if you fold one wing really big and one wing really small? What if you make one plane with huge wings and one plane with tiny wings? How about if you make a plane with straight wings or a plane with angled wings? What if you add flaps? How do the shape and size of the wings make the plane fly differently?
MATERIAL
Try making your airplane out of construction paper or newspaper. You can even try tinfoil (though at that point it won’t really be a paper airplane). What if you cut your paper down into tiny squares or used a really big sheet of paper? What if you use square paper or even a circle! Try using tape to keep it tightly together.
When testing your paper airplane, here are some things to look for: How far does it fly? If you have some measuring tape, you can take down the number, or just look for landmarks, like if it passes the closest tree or an interestingly-shaped rock. When comparing two versions, which flies straighter? Which flies more smoothly?
There are so many different experiments you can try. There are also many other airplane designs you can find online and in books. I found this one and many others in Paper Airplanes on the Flip Side by E. Richard Churchill and Norman Schmidt. Fold enough and you can tell people you’re a true paper airplane engineer!


Does anyone know if anyone ever made paper airplanes before the Wright brothers did their work?
This is a good, solid design! For anyone interested in making more advanced airplanes, check out The Paper Pilot: http://www.thepaperpilot.com